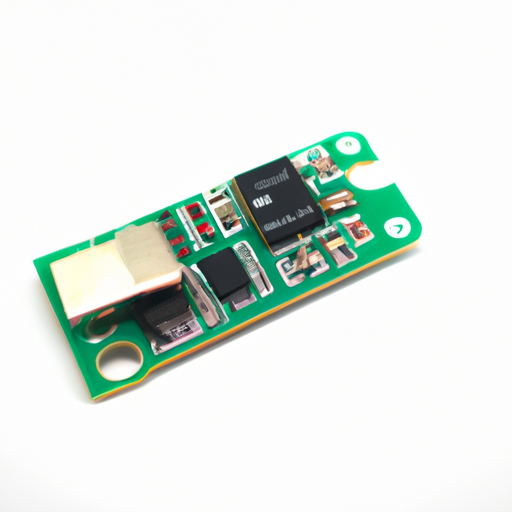
How to wire a resistor and what kind of product is it?
How to Wire a Resistor and What Kind of Product It Is
I. Introduction
In the world of electronics, resistors play a crucial role in the functionality of circuits. A resistor is a passive electrical component that limits the flow of electric current in a circuit. Understanding how to wire a resistor correctly is essential for anyone looking to build or repair electronic devices. This article will delve into the nature of resistors, their types, specifications, and the step-by-step process of wiring them in a circuit.
II. Understanding Resistors
A. What is a Resistor?
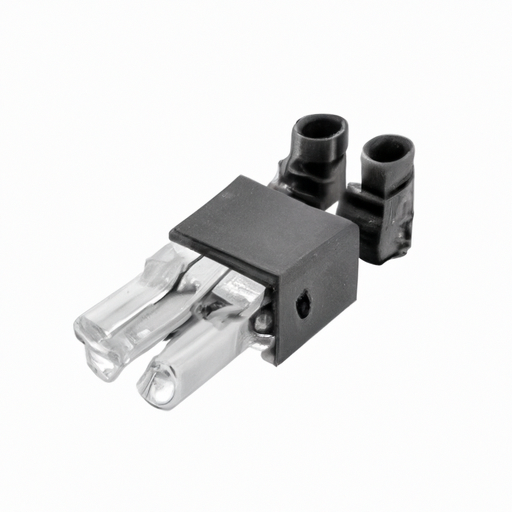
A resistor is a component that resists the flow of electric current, creating a voltage drop across its terminals. This resistance is measured in ohms (Ω), and it is a fundamental element in controlling current and voltage in electronic circuits.
B. Types of Resistors
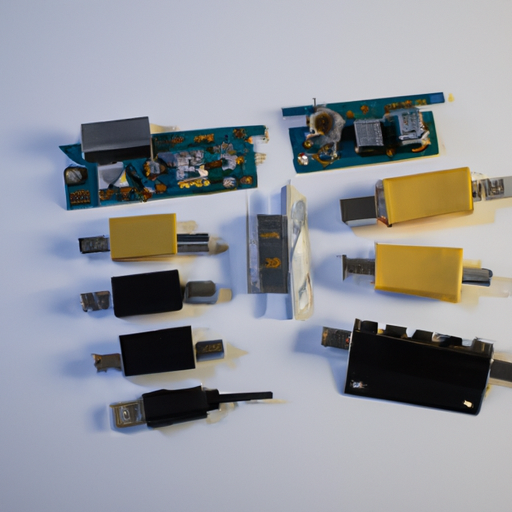
1. **Fixed Resistors**: These resistors have a constant resistance value and are the most commonly used type. They come in various resistance values and power ratings, making them versatile for different applications.
2. **Variable Resistors (Potentiometers)**: These allow the resistance to be adjusted manually. They are often used in applications like volume controls in audio equipment.
3. **Specialty Resistors**: These include thermistors, which change resistance with temperature, and photoresistors, which change resistance based on light exposure. These resistors are used in specific applications where environmental factors need to be monitored.
C. Key Specifications
1. **Resistance Value (Ohms)**: This indicates how much the resistor opposes the flow of current. The higher the resistance, the lower the current flow.
2. **Power Rating (Watts)**: This specifies the maximum amount of power the resistor can dissipate without being damaged. It is crucial to choose a resistor with an appropriate power rating for your application.
3. **Tolerance**: This indicates how much the actual resistance can vary from the stated value. A lower tolerance means a more precise resistor.
III. The Role of Resistors in Circuits
Resistors serve several essential functions in electronic circuits:
A. Current Limiting
Resistors are often used to limit the amount of current flowing through a circuit, protecting sensitive components from damage.
B. Voltage Division
In voltage divider circuits, resistors are used to create a specific voltage output from a higher voltage source, allowing for precise control of voltage levels.
C. Signal Conditioning
Resistors can help shape and filter signals in audio and communication circuits, ensuring that the output is clean and usable.
D. Biasing Active Components
In circuits with transistors and other active components, resistors are used to set the operating point, ensuring that these components function correctly.
IV. Tools and Materials Needed for Wiring a Resistor
Before you start wiring a resistor, gather the necessary tools and materials:
A. Resistor Selection
Choose the appropriate resistor based on your circuit requirements, considering resistance value, power rating, and tolerance.
B. Tools Required
1. **Soldering Iron**: Essential for making permanent connections in electronic circuits.
2. **Wire Cutters/Strippers**: Used to cut and strip wire ends for connections.
3. **Multimeter**: A vital tool for measuring resistance and verifying circuit functionality.
4. **Breadboard**: Useful for prototyping circuits without soldering.
C. Safety Precautions
Always take safety precautions when working with electronic components. Wear safety glasses, work in a well-ventilated area, and be cautious with hot tools.
V. Step-by-Step Guide to Wiring a Resistor
A. Understanding Circuit Diagrams
Before wiring, familiarize yourself with circuit diagrams, which illustrate how components are connected. This will help you visualize the circuit layout.
B. Preparing the Resistor
1. **Identifying Resistor Leads**: Resistors typically have two leads. Identify them to ensure correct placement in the circuit.
2. **Stripping Wire Ends**: If you are using wires, strip the ends to expose the metal for better connections.
C. Connecting the Resistor in a Circuit
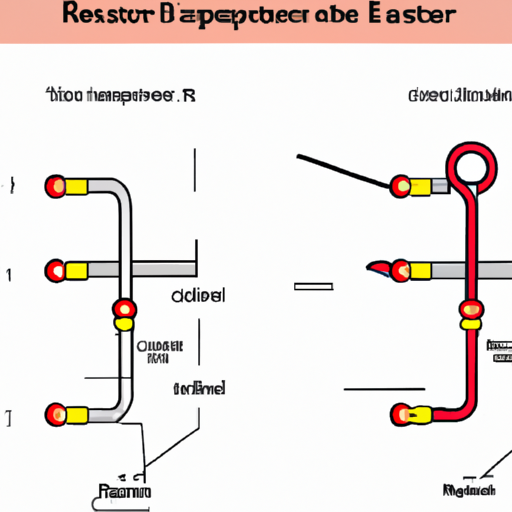
1. **Series Connection**: In a series circuit, resistors are connected end-to-end. The total resistance is the sum of individual resistances.
Example: If you connect a 100Ω resistor and a 200Ω resistor in series, the total resistance is 300Ω.
2. **Parallel Connection**: In a parallel circuit, resistors are connected across the same voltage source. The total resistance can be calculated using the formula:
\[
\frac{1}{R_{total}} = \frac{1}{R_1} + \frac{1}{R_2} + \ldots
\]
Example: For a 100Ω and a 200Ω resistor in parallel, the total resistance is 66.67Ω.
D. Soldering the Connections
1. **Techniques for Effective Soldering**: Heat the soldering iron and the connection point simultaneously. Apply solder to the joint, allowing it to flow and create a solid connection.
2. **Ensuring Good Electrical Contact**: Make sure the solder joint is shiny and smooth, indicating a good electrical connection.
E. Testing the Circuit
1. **Using a Multimeter to Check Resistance**: After wiring, use a multimeter to measure the resistance across the resistor to ensure it matches the expected value.
2. **Verifying Circuit Functionality**: Power the circuit and check if it operates as intended. Look for any signs of overheating or malfunction.
VI. Common Mistakes and Troubleshooting
A. Incorrect Resistor Value
Using the wrong resistor value can lead to circuit failure. Always double-check your resistor selection against the circuit requirements.
B. Poor Soldering Techniques
Cold solder joints can cause intermittent connections. Ensure that your soldering technique is sound and that joints are properly made.
C. Misconnections in the Circuit
Verify all connections against the circuit diagram. Misconnections can lead to circuit malfunction or damage.
D. Overheating and Damage Prevention
Monitor the resistor during operation. If it becomes excessively hot, it may be undersized for the application. Replace it with a resistor that has a higher power rating.
VII. Applications of Resistors
Resistors are ubiquitous in electronic devices. Here are some common applications:
A. Everyday Electronic Devices
From televisions to smartphones, resistors are used in various applications, including power regulation and signal processing.
B. Industrial Applications
In industrial settings, resistors are used in control systems, automation, and instrumentation.
C. Educational Purposes in Electronics
Resistors are fundamental components in educational kits, helping students learn about circuit design and electronics principles.
VIII. Conclusion
Resistors are essential components in electronic circuits, serving various functions from current limiting to signal conditioning. Understanding how to wire a resistor correctly is crucial for anyone interested in electronics, whether for hobby projects or professional applications. We encourage you to experiment with wiring resistors in different configurations to deepen your understanding of their role in circuits. With practice, you will gain confidence in your ability to work with these vital components.
IX. References
For further learning, consider exploring the following resources:
- "The Art of Electronics" by Paul Horowitz and Winfield Hill
- Online tutorials and videos on platforms like YouTube and educational websites
- Electronics forums and communities for practical guidance and troubleshooting tips
By understanding resistors and their applications, you can enhance your skills in electronics and contribute to innovative projects in the field. Happy tinkering!

